10 Snowflake Nails Ideas for a Frosty Manicure
Nothing says winter quite like a snowflake. Snowflake nails are a seasonal classic because the motif is festive without being tied to one holiday, so you can wear it from the first frost of December until the end of February. The six-armed shape can be painted bold and graphic or tiny and delicate, on dark navy or soft nude, with chrome, glitter or matte textures. Here are ten snowflake nails ideas for a frosty manicure, plus a simple step-by-step guide to painting your own.
1. Classic White Snowflake Nails on Navy
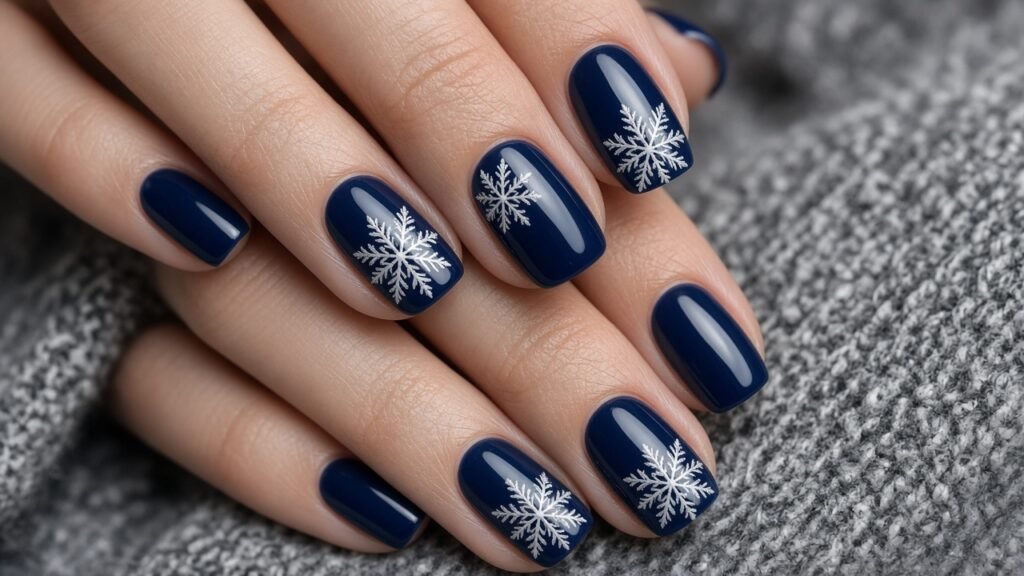
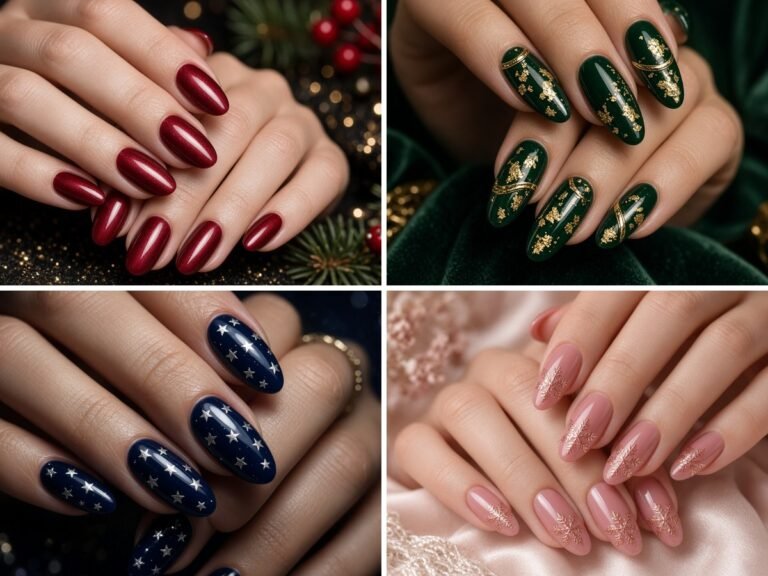
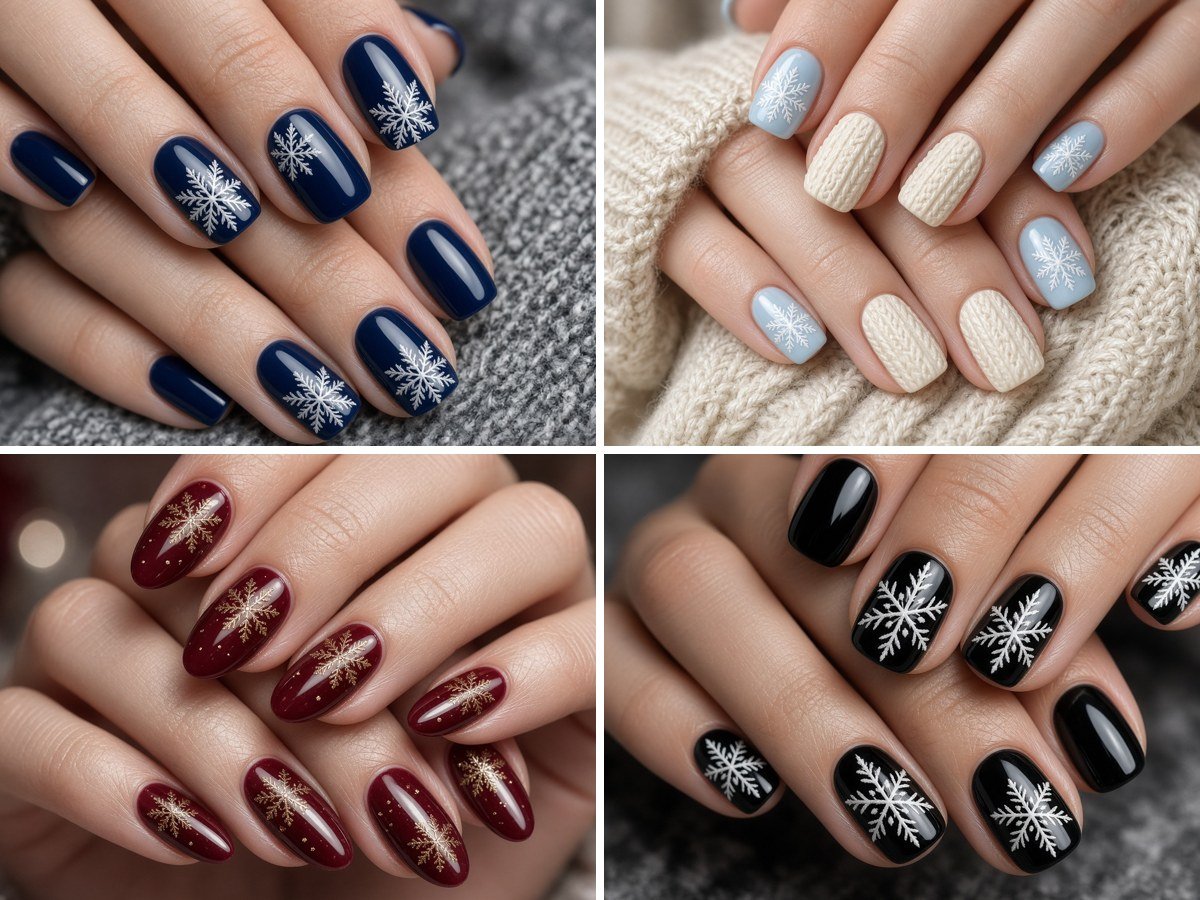
White snowflakes on a glossy navy base are the most iconic version of this design. The deep blue looks like a night sky during a snowfall, making the crisp white flakes pop. Paint one large snowflake on each accent nail and scatter tiny dots on the rest for a falling-snow effect. Use a fine liner brush to draw three crossing lines, then add small V-shapes at the end of each arm. This look suits holiday parties, winter markets and cosy evenings. Short squoval or medium almond shapes both work well, and a high-gloss top coat keeps the contrast sharp and the flakes looking freshly fallen.
2. Icy Blue Chrome with Silver Flakes
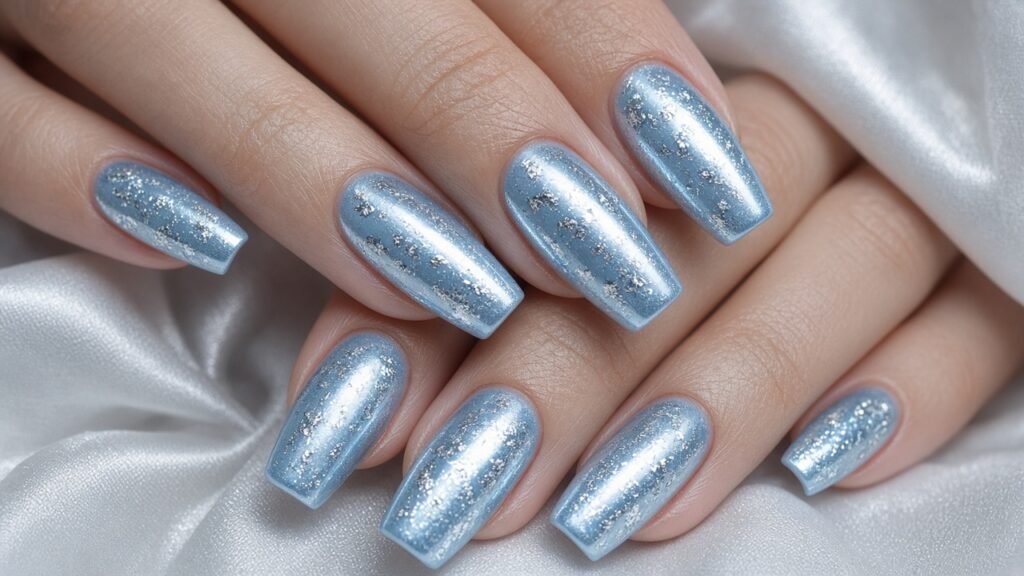
Pale icy blue chrome creates a frozen, reflective base that looks like a frosted window. Add delicate silver snowflakes using metallic gel or decals for a shimmering, wintry effect. The combination feels magical and elegant, perfect for winter weddings, New Year’s Eve and festive photo shoots. Because chrome highlights texture, apply snowflake decals before the final top coat so they sit flat. Pair with silver jewellery and soft blue eyeshadow for a cohesive frosty look. These snowflake nails look particularly striking on medium almond or coffin shapes.
3. Nude Base with Tiny Snowflakes
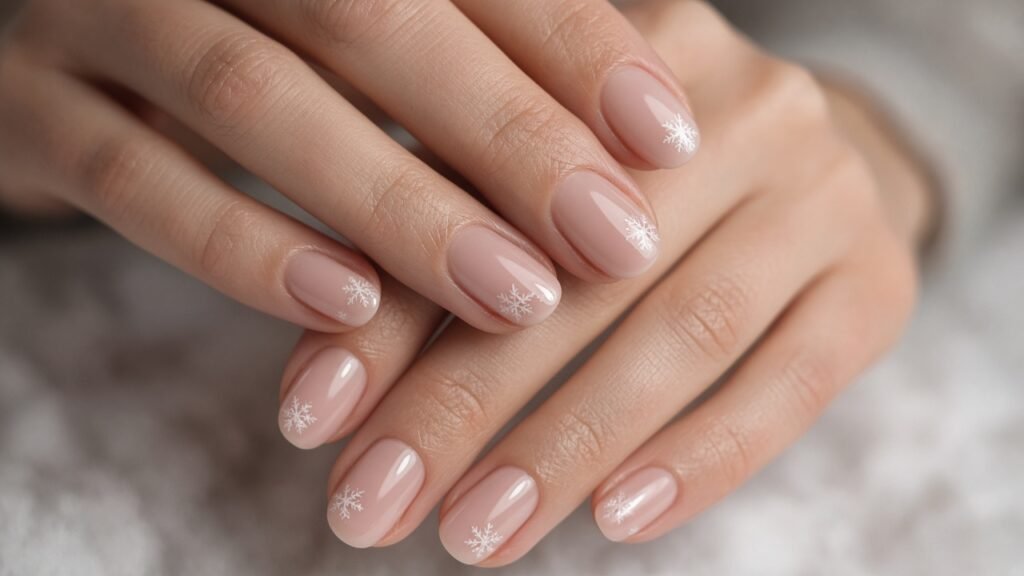
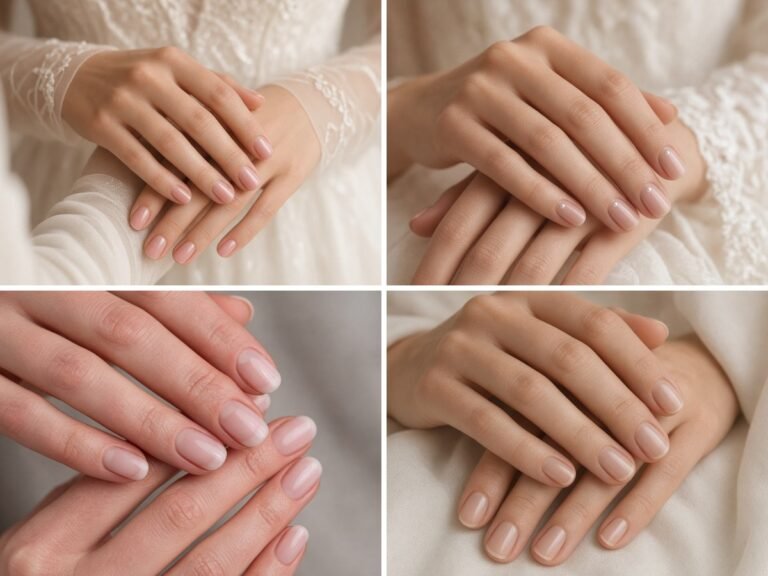
For a subtle, office-friendly design, paint tiny white snowflakes on a sheer nude or milky pink base. Keep each flake no bigger than a few millimetres and place one near the cuticle or in a corner of each nail. The negative space makes the design feel modern and minimal, and it suits any outfit. This is a great option if your workplace prefers understated manicures or if you want a seasonal touch that lasts beyond the holidays. Use a dotting tool for the centre and a fine brush for the arms.
4. Sweater and Snowflake Mix
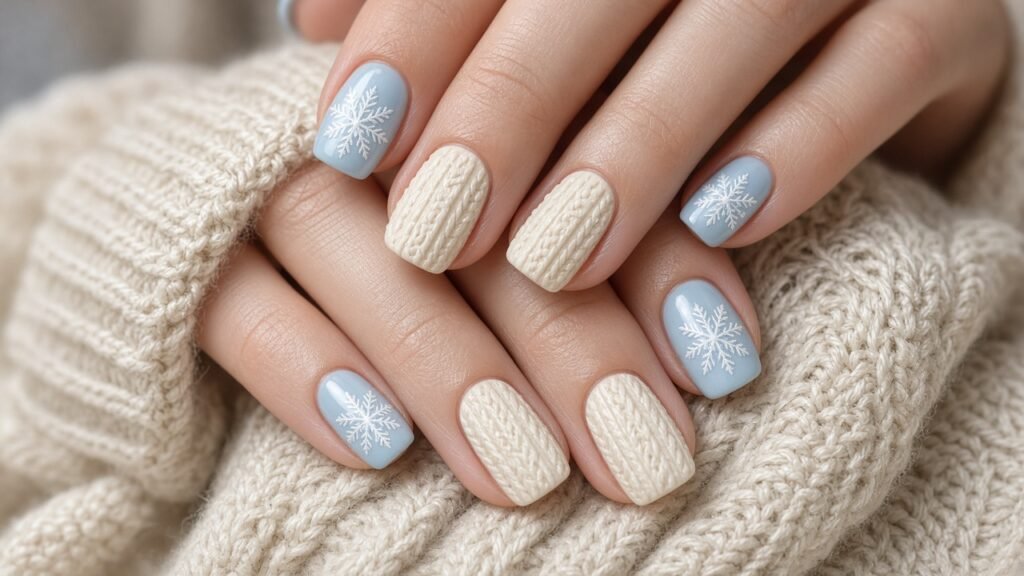
Combine raised cable-knit textures with snowflakes for a cosy, wintry look. Paint two accent nails with knit patterns in cream or burgundy and add a white snowflake to another accent nail, keeping the remaining nails solid. The mix of textures feels warm and playful, perfect for Christmas morning, chalet getaways and winter brunches. Choose a matte base for the knit nails to enhance the fabric effect. These snowflake nails look adorable with chunky knitwear and fluffy scarves. Short lengths keep the raised texture practical.
5. Glitter Tips with Snowflake Accents
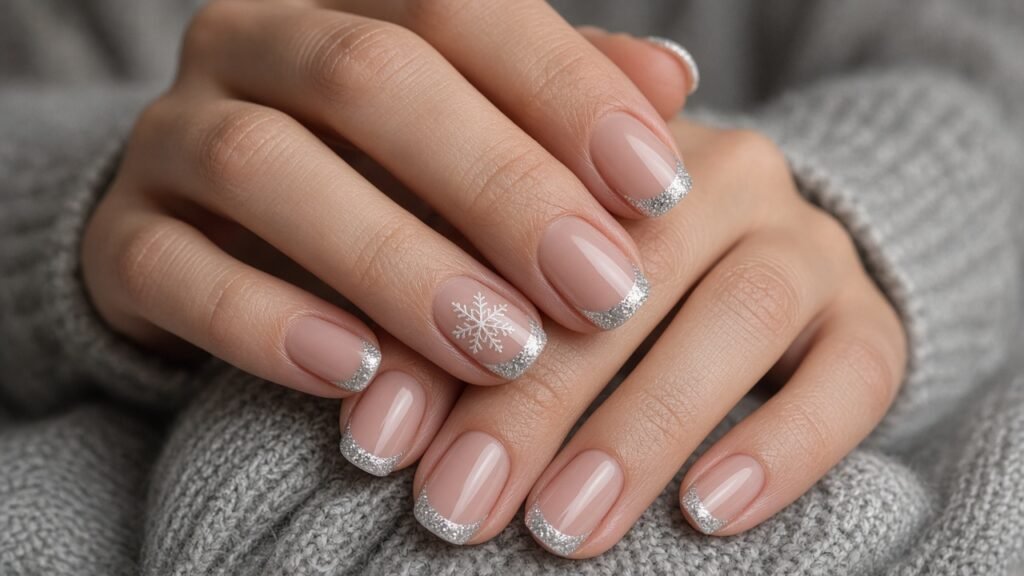
Silver glitter French tips paired with a single snowflake on each ring finger create a festive, sparkly look. The glitter catches light like fresh snow, while the snowflake adds a seasonal focal point. Use a sheer pink base for softness. This design is perfect for office parties and winter celebrations, and the glitter hides minor tip wear well. Finish with a thick top coat for a smooth, glossy surface that will not snag on knitwear. Holographic glitter adds a rainbow shimmer for parties.
6. Matte Grey with Glossy Snowflakes
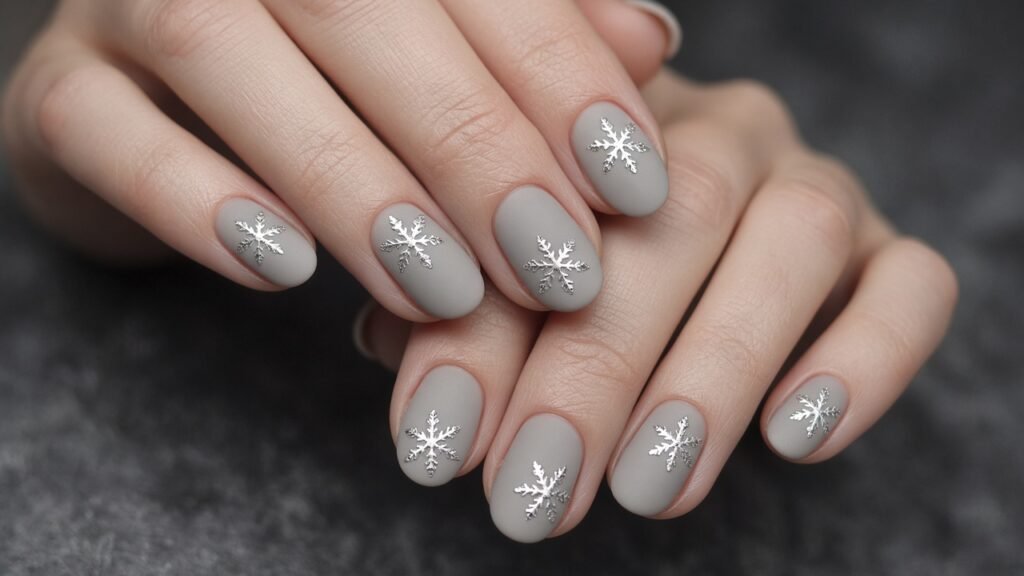
Paint all nails in a soft matte grey, then add glossy white or clear snowflakes with a top coat for a subtle tone-on-tone effect. The contrast between matte and gloss makes the snowflakes appear and disappear as the light shifts. This design feels sophisticated and modern, perfect for minimalists. It pairs well with grey knitwear, silver jewellery and monochrome outfits. Short square nails show the design most clearly. Use a clear builder top coat for the flakes so they sit slightly raised and catch the light even more.
7. Gold Snowflakes on Burgundy
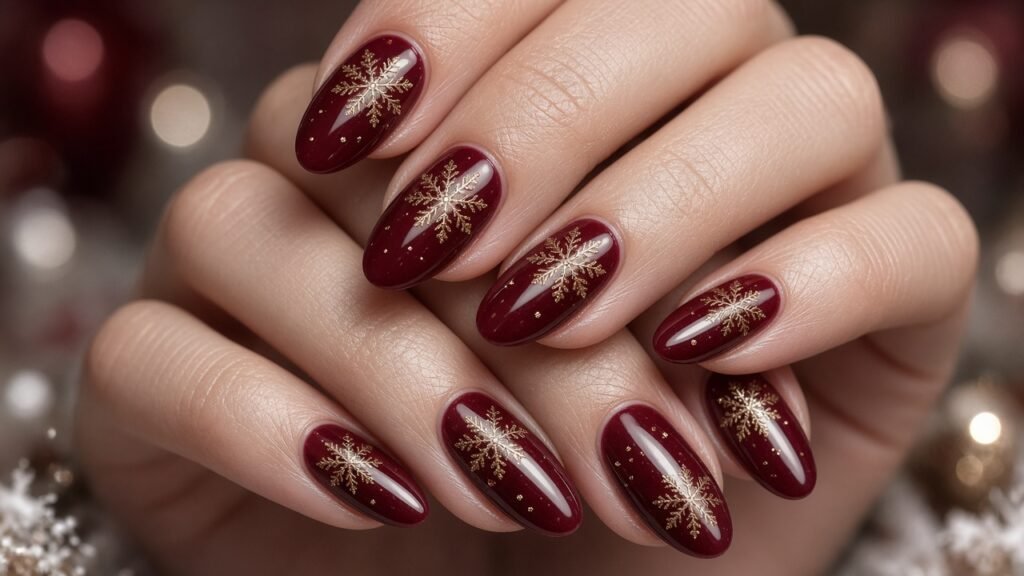
For a richer, festive twist, paint gold snowflakes on a deep burgundy base. The warm metallic against the deep red feels luxurious and holiday-ready. This design suits Christmas dinners, New Year’s Eve and winter weddings. Use metallic gel liner for crisp, durable lines, and add tiny gold dots between the flakes for extra sparkle. These snowflake nails pair beautifully with gold jewellery and velvet outfits. For a softer version, swap burgundy for a deep plum and keep the gold flakes small and delicate.
8. Ombre Snow Gradient
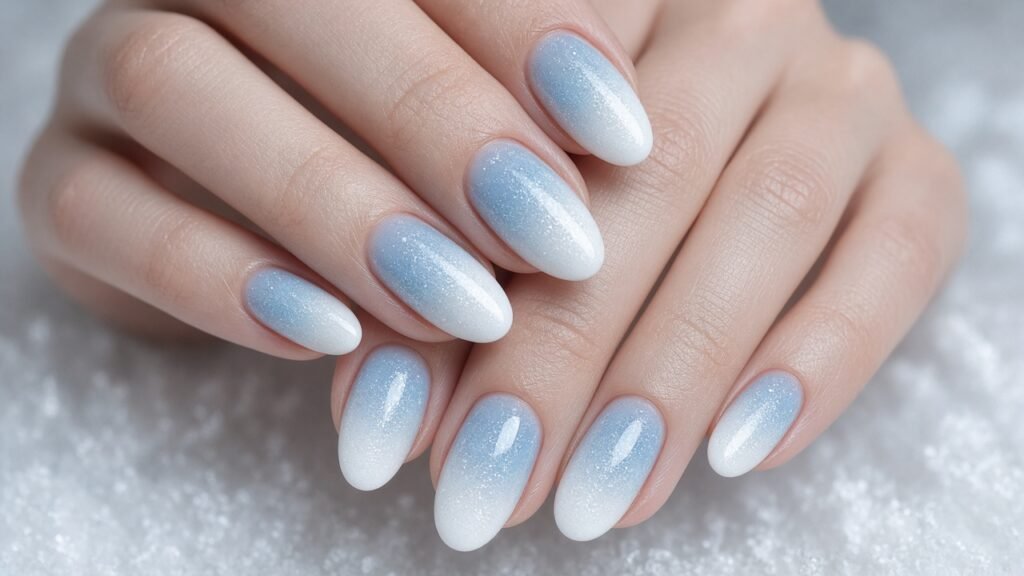
Create a gradient from icy blue at the cuticle to white at the tip, like snow settling on the ground. Add a few small white snowflakes over the blue section. The soft fade feels dreamy and wintry, perfect for anyone who loves gentle, airy designs. Use a makeup sponge to blend the gradient. Medium almond shapes give the ombre room to transition smoothly. Seal with a glossy top coat to smooth the sponge texture. These snowflake nails look especially pretty with soft silver jewellery and pale winter knitwear.
9. 3D Snowflake Charms
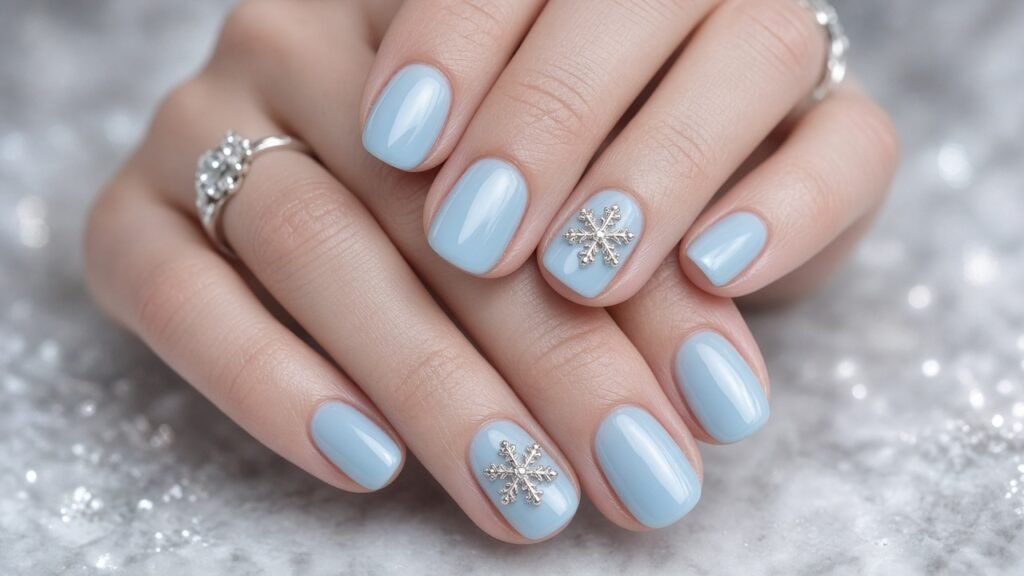
For a statement look, add tiny 3D snowflake charms or raised gel snowflakes to accent nails. The dimension catches light and looks spectacular in photos. Keep charms to one nail per hand to stay comfortable and practical. This design is perfect for holiday parties and festive events. Ensure charms are fully sealed to prevent snagging. Raised gel flakes are lighter and less likely to catch than metal charms. Pair the accent nails with icy chrome or a frosty glitter on the remaining nails for a cohesive look.
10. Black and White Graphic Snowflakes
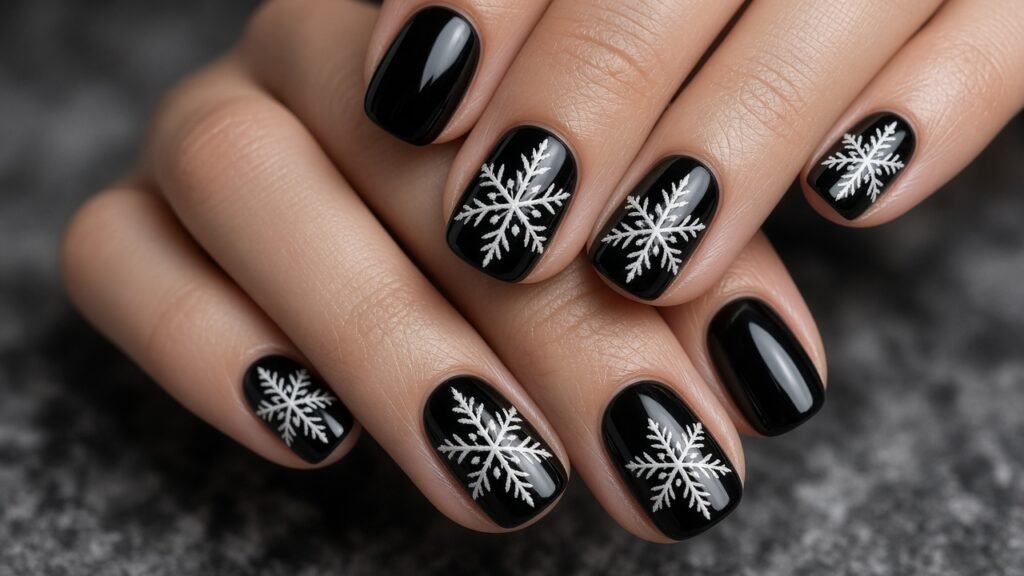
Bold white snowflakes on a glossy black base feel graphic and modern. Use thicker lines for a stylised effect, or try a geometric snowflake built from simple shapes. This design pairs well with black outfits and silver jewellery, and it looks striking at evening events. Short square nails keep the look clean and contemporary. For extra impact, add a fine silver outline around one snowflake. These snowflake nails also work beautifully on press-on sets if you want to reuse them each winter.
How to Paint Snowflake Nails at Home
- Apply a base coat and two coats of your chosen colour, letting each layer dry or cure fully.
- Using a fine liner brush and white polish, paint a vertical line, then two diagonal lines crossing at the centre to form six arms.
- Add small V-shapes near the end of each arm for detail.
- Place a tiny dot at the centre and at the tip of each arm with a dotting tool.
- Seal with a glossy or matte top coat once the art is completely dry.
Find more frosty inspiration in our winter nails archive and festive sets in our press on nails collection. For a fascinating look at real snow crystals, read Wikipedia’s snowflake article.
FAQ About Snowflake Nails
Are snowflake nails only for Christmas?
No. Snowflakes are a winter motif, so you can wear them from December through February.
Can I do snowflake nails without a liner brush?
Yes. A toothpick, a dotting tool or snowflake decals and stamping plates work well for beginners.
Which base colours work best for snowflakes?
Navy, icy blue, burgundy, grey, black and nude all make white or metallic snowflakes stand out.
Conclusion
Snowflake nails are a timeless winter design that can be minimal, sparkly or bold. Whether you choose classic white on navy, icy chrome or gold on burgundy, these ideas will keep your manicure frosty and festive all season. Grab a fine brush and enjoy creating your own winter wonderland.