15 DIY Press On Nails Ideas You Can Make at Home
Making your own press-ons is creative, budget-friendly and surprisingly relaxing. With a pack of blank tips, a few polishes or gels and some simple tools, you can create reusable sets for every mood and occasion. These fifteen DIY press on nails ideas range from beginner-friendly dots to more advanced marble and chrome effects, so you can build skills gradually and end up with a drawer full of custom designs.
1. Polka Dot Basics
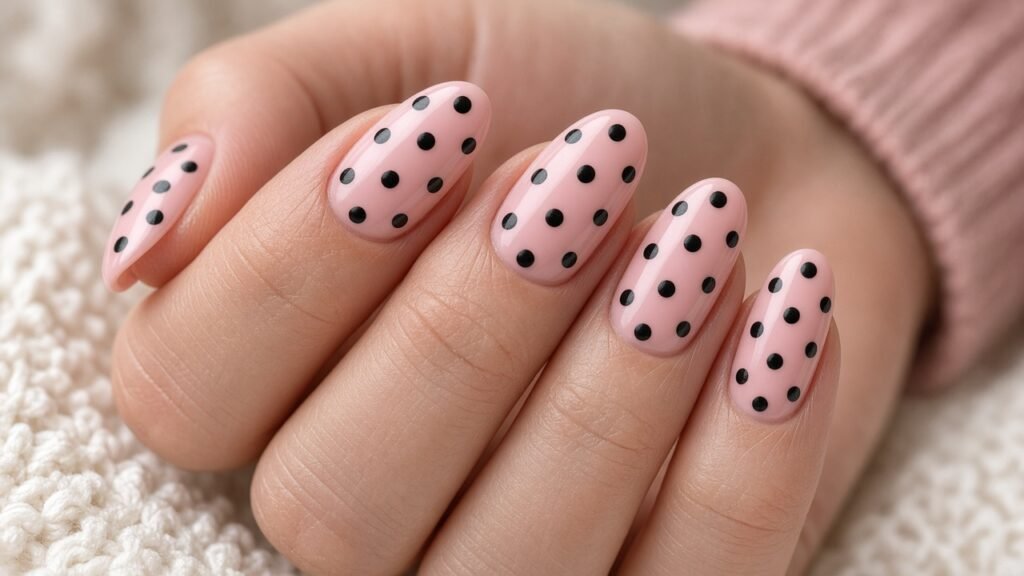
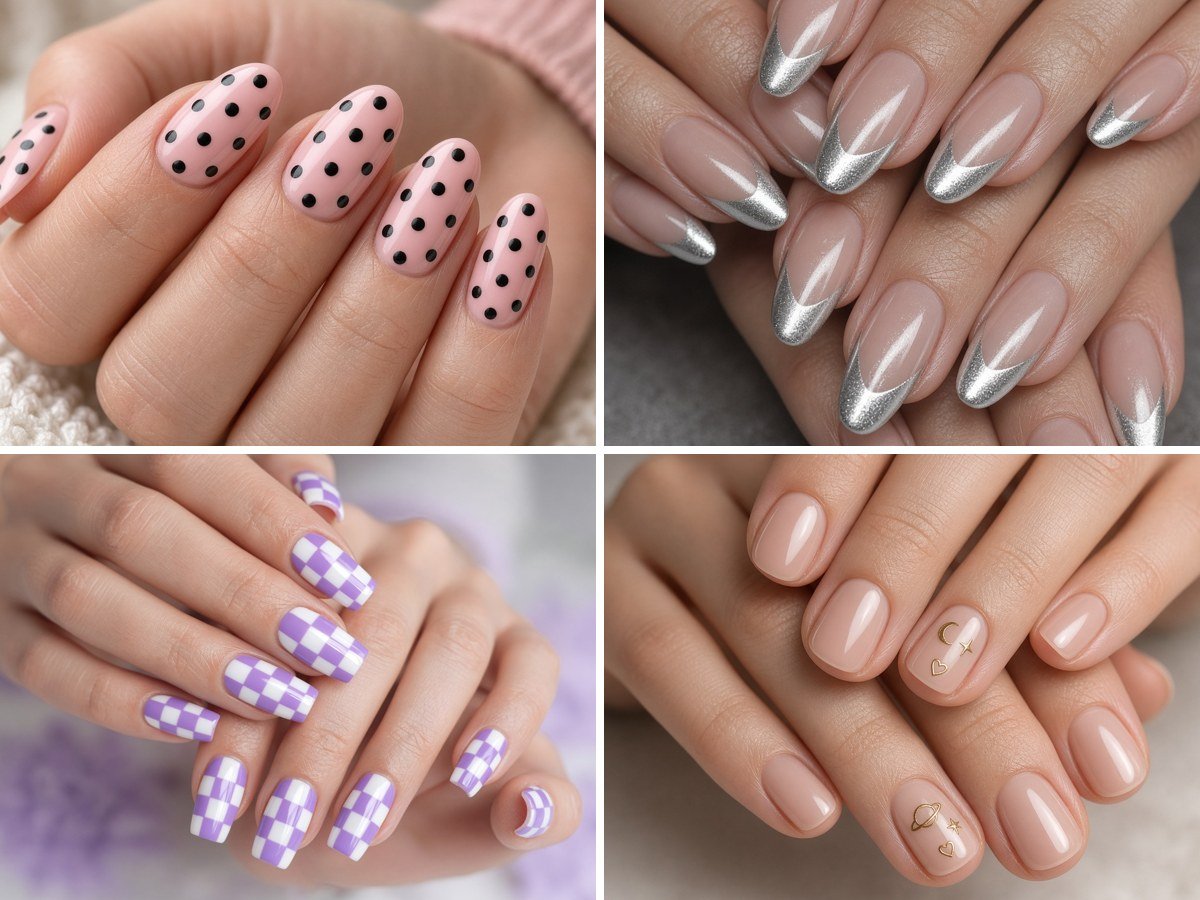
Polka dots are the perfect first project. Paint your blank tips in a creamy base such as baby pink or white, let them dry fully, then use a dotting tool, the head of a pin or even the end of a bobby pin to add evenly spaced dots in a contrasting colour. Black on white feels retro, while gold on nude looks elegant. Vary dot sizes on one accent nail for interest. Because mistakes are easy to wipe off a single tip before it dries, dots are a stress-free way to start making DIY press on nails at home.
2. Sponge Ombre Gradient
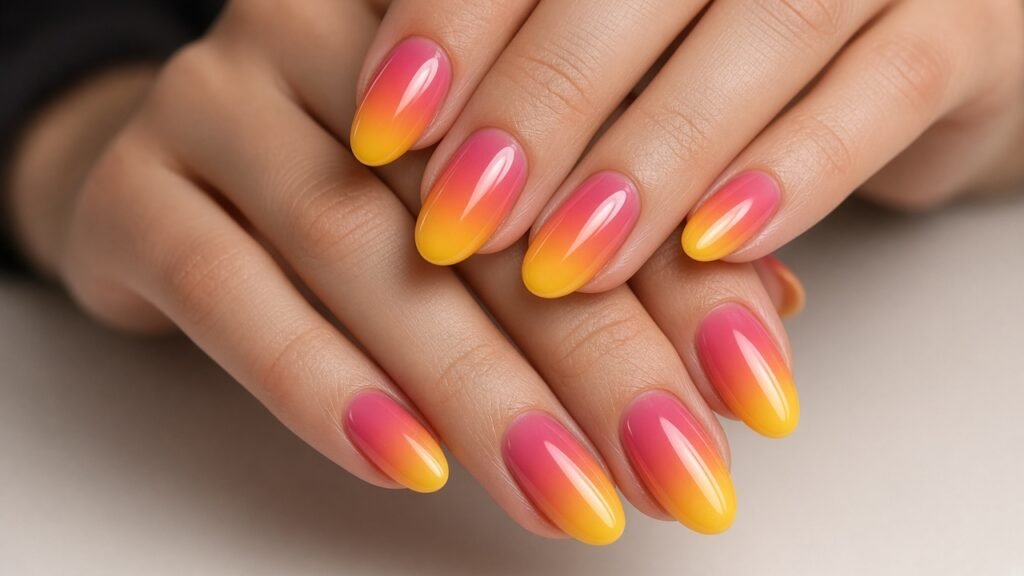
Dab two or three shades onto a makeup sponge in stripes, then press the sponge onto each tip to create a soft gradient. Repeat two or three times to build colour, clean the edges with a brush dipped in remover and seal with a glossy top coat. Sunset shades of pink, orange and yellow look cheerful, while a fade from nude to rose gold glitter feels dressy. Working on loose tips means you can sponge freely without staining your skin, which is one of the big advantages of DIY press on nails.
3. Marble Swirl DIY Press On Nails
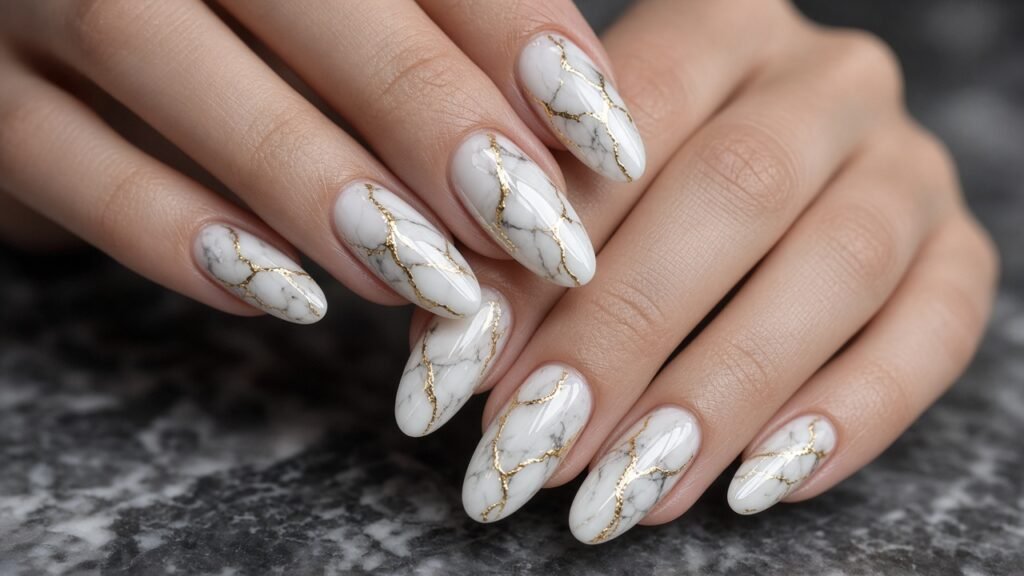
For a marble look, apply a white base, then drop small dots of grey and gold polish while the base is still wet and drag a fine brush through them to create veins. Alternatively, use a drop of alcohol on gel to make colours spread naturally. Every one of your DIY press on nails will turn out slightly different, which adds to the stone-like realism. Seal with a thick glossy top coat for depth. Marble DIY press on nails look luxurious with neutral outfits and are ideal for gifting.
4. Simple French Tips with Tape
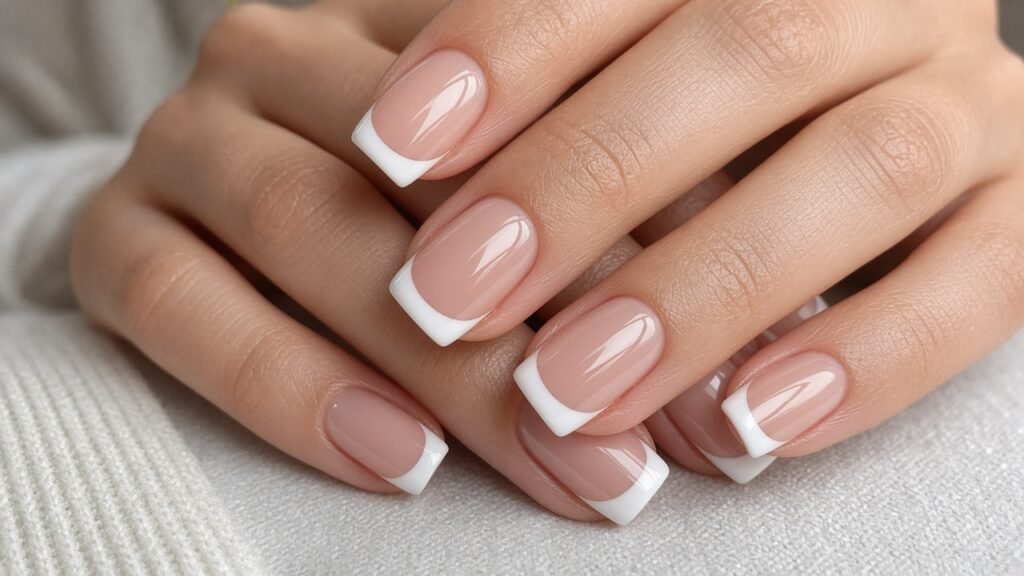
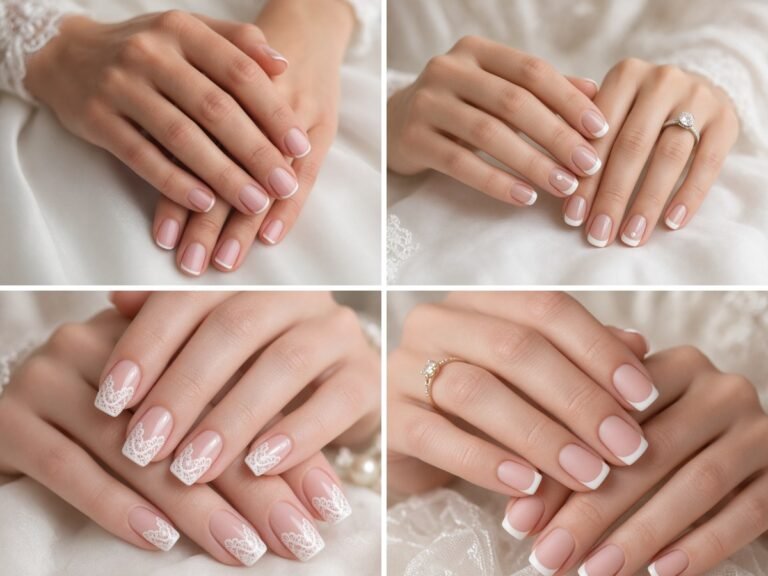
Use thin nail art tape or curved tip guides to mask off the smile line, then paint the tips in white or any colour you like. Remove the tape while the polish is still slightly wet to get a crisp edge. Because you are working on blank tips laid flat on a table, it is much easier to achieve symmetry than painting your own nails. Try classic white, pastel tips in different shades, or black tips for an edgy look.
5. Dotted Daisy Florals
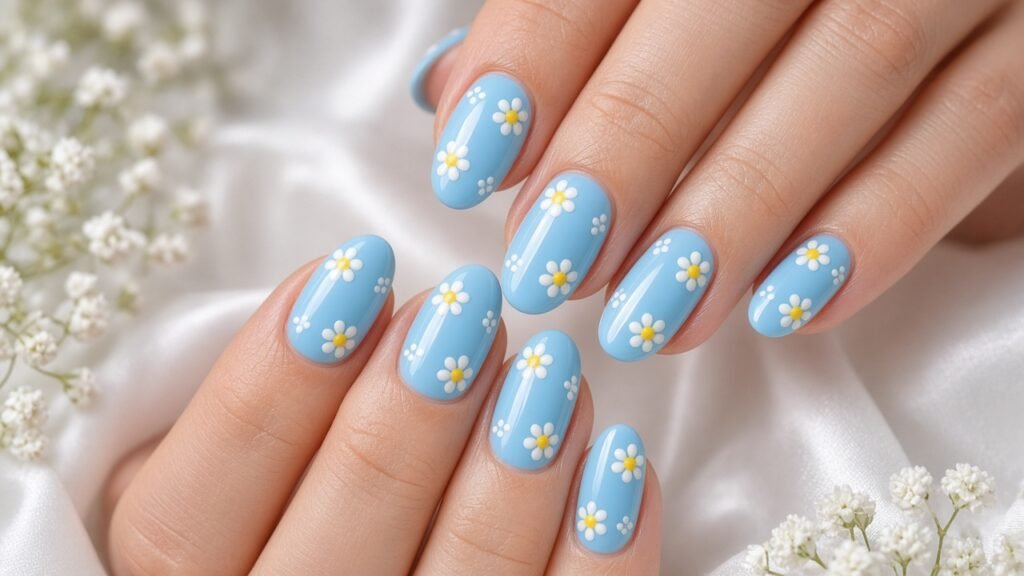
Create tiny daisies by placing five white dots in a circle and adding a yellow dot in the centre. Scatter them across a sky-blue, mint or nude base for a fresh spring vibe. Daisies are forgiving because slight unevenness looks charming rather than messy. Paint them on every nail or only accent nails, depending on your style. These DIY press on nails make lovely gifts for friends, and they are a cheerful choice for picnics and garden parties. Use a dotting tool for consistent petal size.
6. Chrome Powder Tips
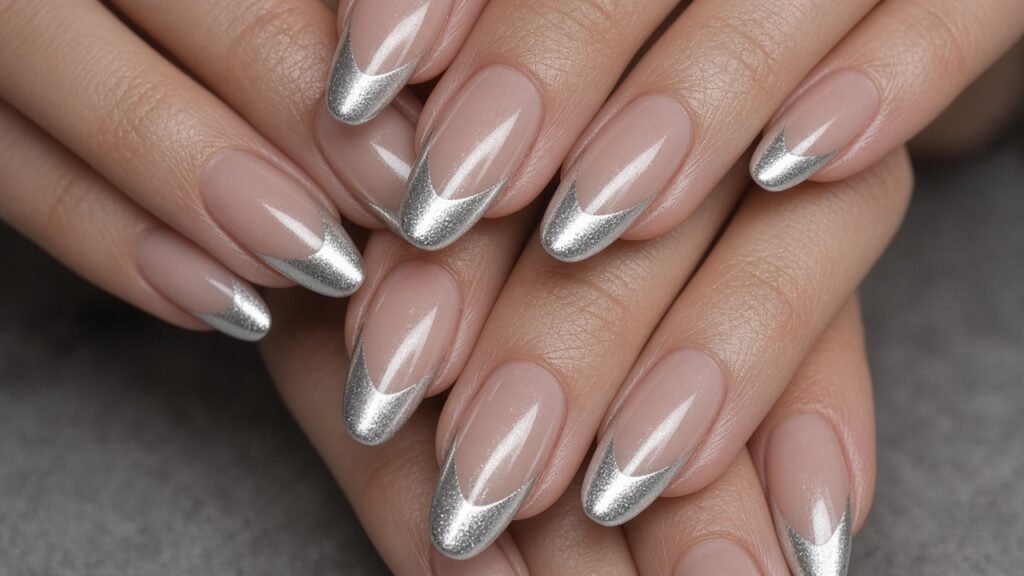
If you own a gel lamp, chrome powder opens up a world of shimmering finishes. Paint and cure a coloured gel, apply a no-wipe top coat, cure it briefly, then rub chrome powder onto the tips with a silicone tool. Seal with another layer of top coat. Silver, gold and pearl chrome all look striking. Applying chrome on loose tips prevents the powder from settling into your cuticles, so the finish looks more professional. Work in a well-ventilated space and keep the powder lid closed between nails.
7. Glitter Gradient
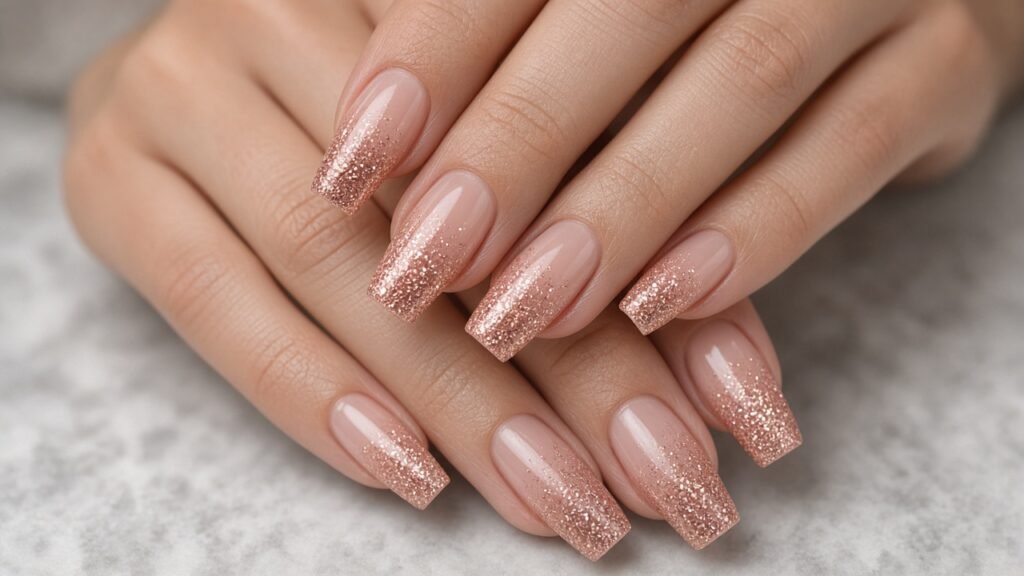
Brush glitter polish heavily at the free edge and gradually lighter toward the base to create a sparkly fade. Fine glitter in rose gold, silver or holographic shades looks elegant, while chunky glitter is fun for parties and festivals. Apply two coats of top coat to smooth the surface. Glitter is very forgiving for beginners, as it hides uneven brush strokes and small mistakes, making it ideal for anyone new to DIY press on nails. Pick up the glitter from the bottom of the bottle for denser coverage at the tips.
8. Abstract Line Art
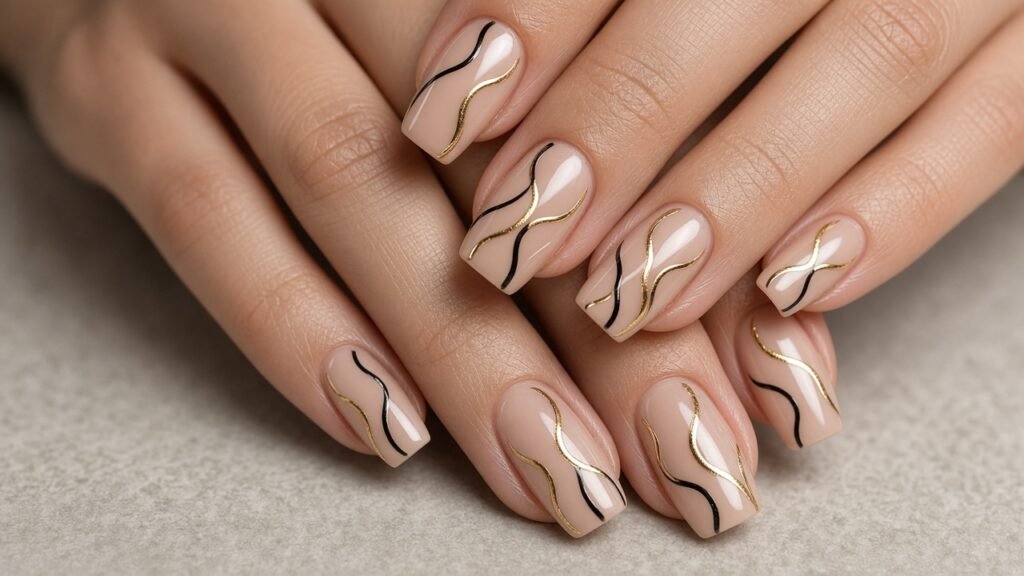
Using a fine liner brush, paint loose wavy lines, outlined shapes or squiggles in black, white or gold over a nude or pastel base. Abstract art does not require perfection, which makes it relaxing and creative. Mix different line designs across each nail for an eclectic gallery effect. Seal everything with a glossy or matte top coat. These sets look modern and are easy to coordinate with minimalist outfits. Practise a few strokes on paper first to warm up your hand and find a comfortable brush angle.
9. Nail Sticker and Decal Sets
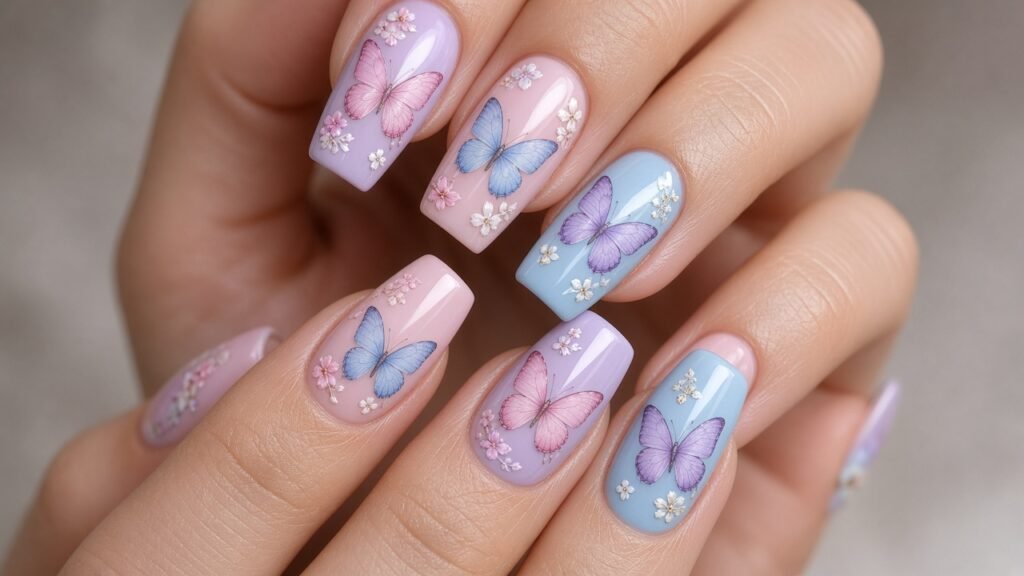
Stickers and water decals are a shortcut to intricate designs. Apply a base colour, let it dry completely, then press on stickers or slide on water decals, smoothing out any bubbles. Seal with two layers of top coat so the edges do not lift. Options range from tiny hearts and stars to detailed florals and seasonal motifs. This method gives polished results with almost no artistic skill required. Sticker DIY press on nails are also perfect for seasonal sets you want to make quickly before a party.
10. Tortoiseshell with Jelly Polish
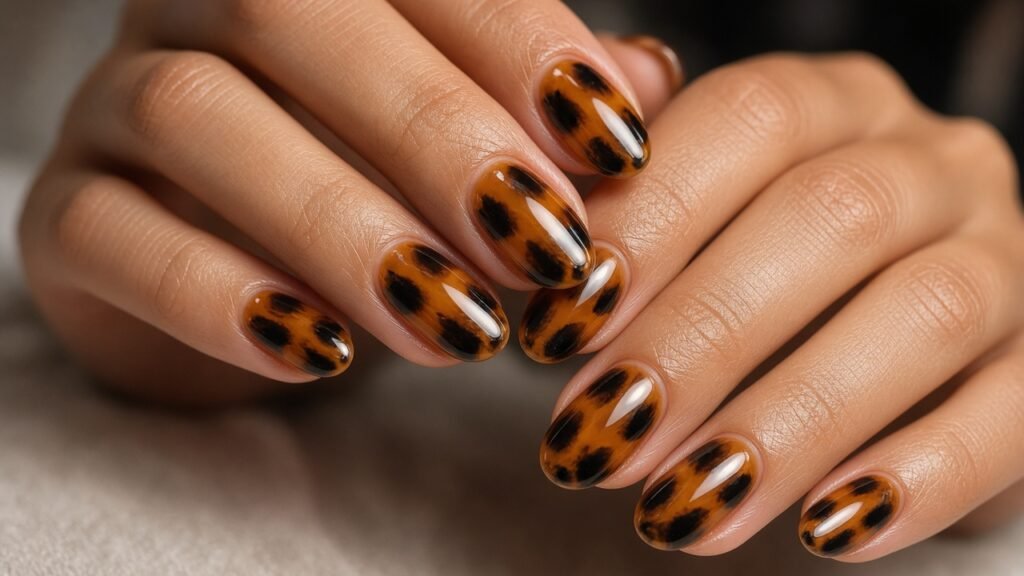
Layer sheer amber jelly polish, then dab random spots of darker brown and black, followed by more amber to blend the layers. The translucent effect creates depth that looks just like tortoiseshell. This technique takes patience, so it is easier to do on loose tips than on your own hands. Seal with a high-gloss top coat for a glassy finish. Tortoiseshell sets are perfect for autumn and pair well with gold accessories. Let each layer dry for a few minutes so the spots stay soft-edged instead of muddy.
11. Checkerboard Pattern
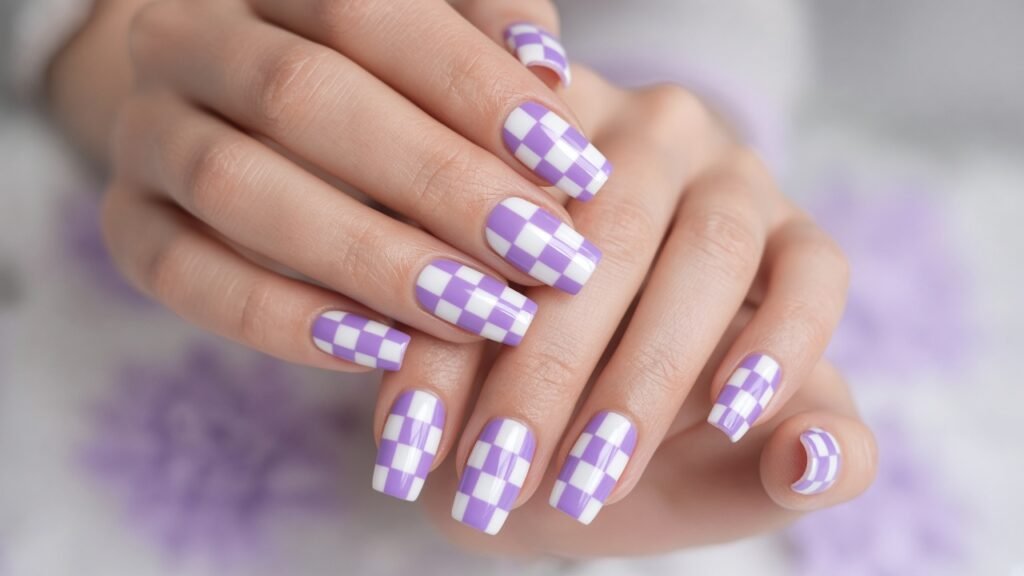
Use striping tape or a fine brush to create a checkerboard of squares in two contrasting colours. Pastel combinations like lilac and white look playful, while black and white feels bold and retro. You can create a full pattern on every nail or just on accent nails with plain colours elsewhere. Clean lines are easier on loose tips, so take your time and let each layer dry between steps. A dotting tool can be used to tidy any corner where two colours meet unevenly.
12. Pressed Flower Accents
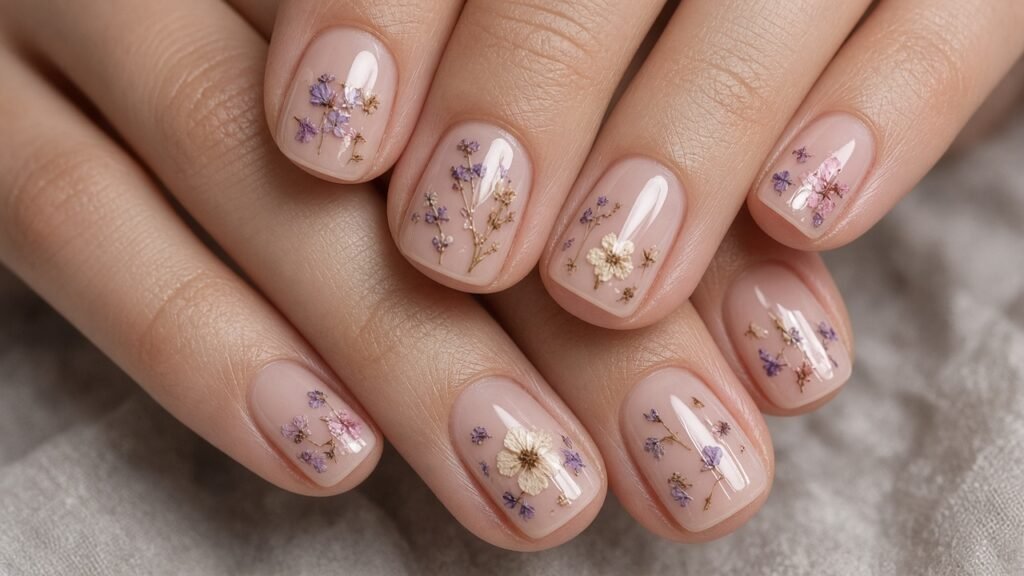
Tiny dried flowers, sold for nail art, can be placed on a sheer base and sealed under several layers of gel top coat. The result looks delicate and botanical, like a miniature pressed-flower artwork. Use tweezers to position each piece and keep the arrangement simple. These DIY press on nails are lovely for spring weddings, bridal showers and cottagecore styling. Choose flat, thin blooms so they lie smoothly, and add an extra layer of top coat over any thicker petals to keep the surface even and snag-free.
13. Aura Airbrush DIY Press On Nails
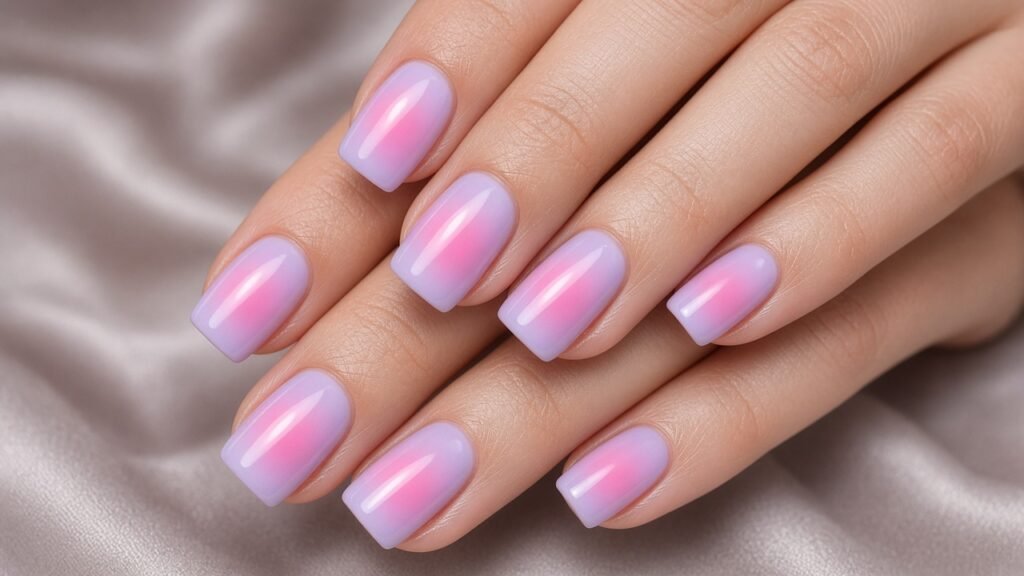
Create an aura look by sponging a small circle of bright colour in the centre of each tip over a contrasting base, then blending the edges with a clean sponge for a soft glow. Pink on peach, purple on blue or orange on yellow all look striking. A matte top coat enhances the soft, airbrushed effect. Aura nails are trendy and look impressive, yet they need only sponges and two polishes. Seal the gradient with a thin top coat so the sponge texture stays smooth.
14. Gold Foil Flakes
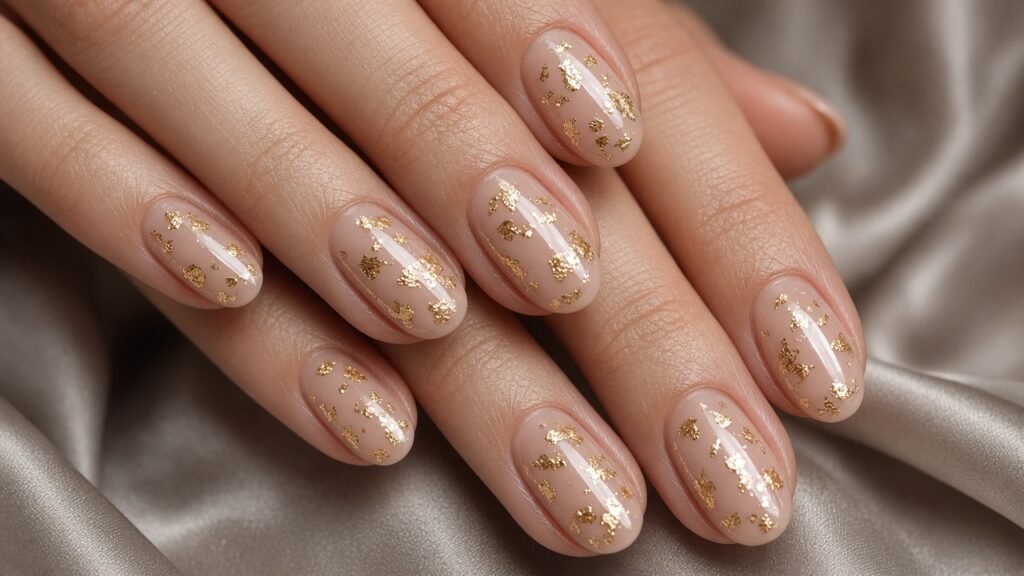
Apply a tacky layer of gel or foil adhesive, press small pieces of gold foil onto the nail with tweezers, then seal with two layers of top coat. Foil looks gorgeous over sheer pinks, nudes and deep jewel tones. Each nail has a unique pattern, which adds an artisanal feel. Foil sets are great for festive occasions and look much more expensive than they are to make. Use a soft brush to sweep away any loose flakes before sealing. Copper and silver foil work just as well.
15. Personalised Initials
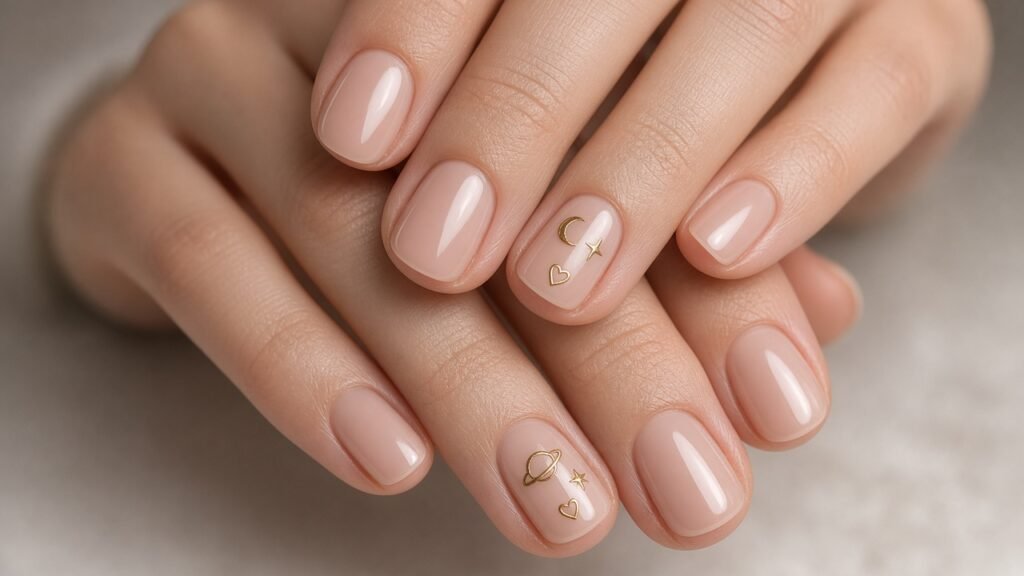
Paint tiny initials, zodiac symbols or meaningful dates on accent nails using a fine liner brush or letter stickers. Keep the rest of the set simple with a nude or soft pastel base. Personalised designs make thoughtful gifts for birthdays, bridesmaids or best friends. Seal with a glossy top coat and pack the set in a small box with nail glue for a ready-to-wear present. Practise letters on a spare tip first so the spacing looks even and neat. Initial-themed DIY press on nails are always a hit.
How to Make DIY Press On Nails That Last
- Size first: Match tips to your nails before decorating so each design ends up on the right finger.
- Mount the tips: Stick tips onto a nail stand or cocktail sticks with putty so you can paint them easily.
- Use thin layers: Thin coats dry faster and are less likely to wrinkle or peel.
- Seal well: A gel top coat cured under a lamp provides the strongest, glossiest finish.
Need ready-made inspiration? Browse our press on nails collection or try simple designs from our short nails archive. For more on the history and techniques of decorative nails, see Wikipedia’s nail art article.
FAQ About DIY Press On Nails
Do I need a UV lamp to make press-ons?
No. Regular polish works for most designs, though a lamp and gel make sets more durable and reusable.
How do I store homemade press-ons?
Keep them in a labelled compartment box or the tray they came in, sorted by size, away from direct sunlight.
Can beginners make DIY press on nails?
Absolutely. Start with dots, glitter and stickers, then progress to marble and chrome as your confidence grows.
Conclusion
DIY press on nails let you experiment freely, save money and create a manicure wardrobe that is entirely your own. Start with easy dots and gradients, build up to marble and chrome, and enjoy the satisfaction of wearing nail art you made yourself.